
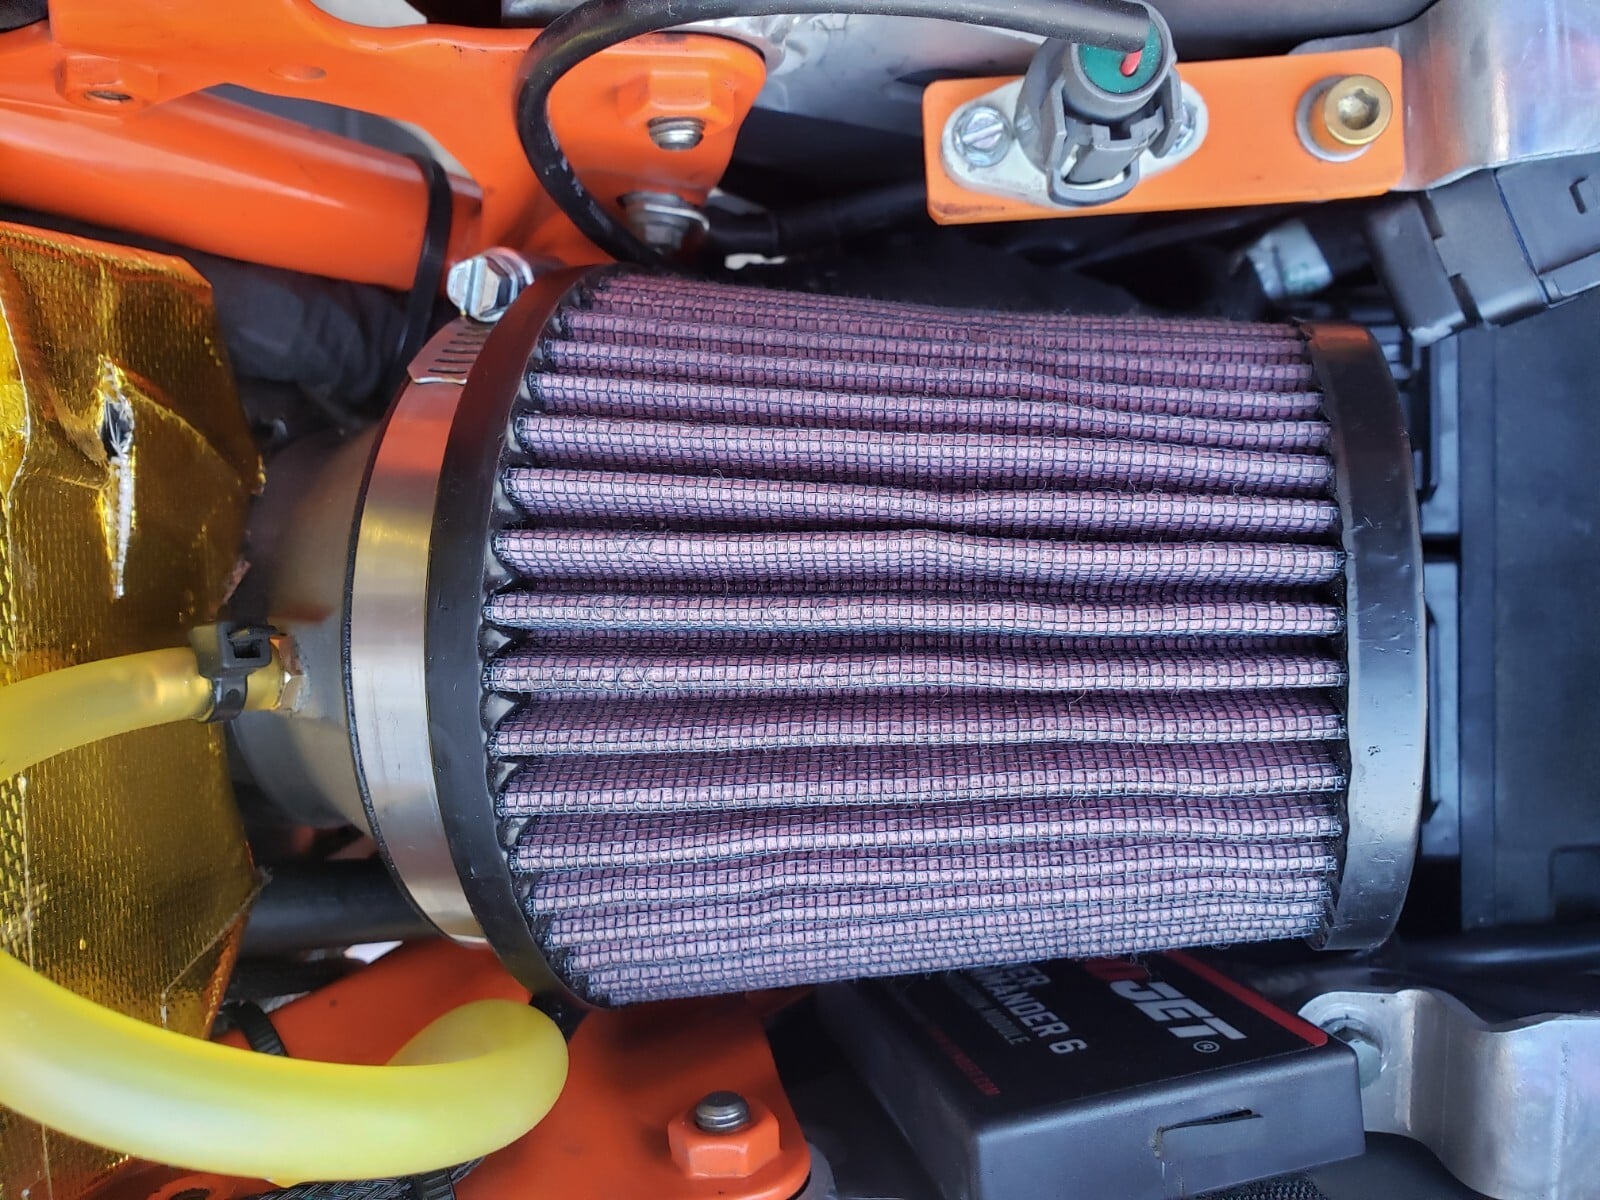
Installing the JB Stage 3 Intake on a Gen 3 KTM 690, Husqvarna 701 or GasGas 700
What to expect when you fit the Stage 3 intake, why tuning matters, and the checks we recommend before your first ride.
The Stage 3 intake is the single biggest bolt-on gain we have found on the LC4 platform. Here is an overview of the install and what we recommend around it.
Before you start
- Work on a cool engine with the bike on a stand.
- Have your factory service manual handy for fastener locations and torque values.
- Lay out the intake, filter and hardware so nothing goes missing.
Overview of the install
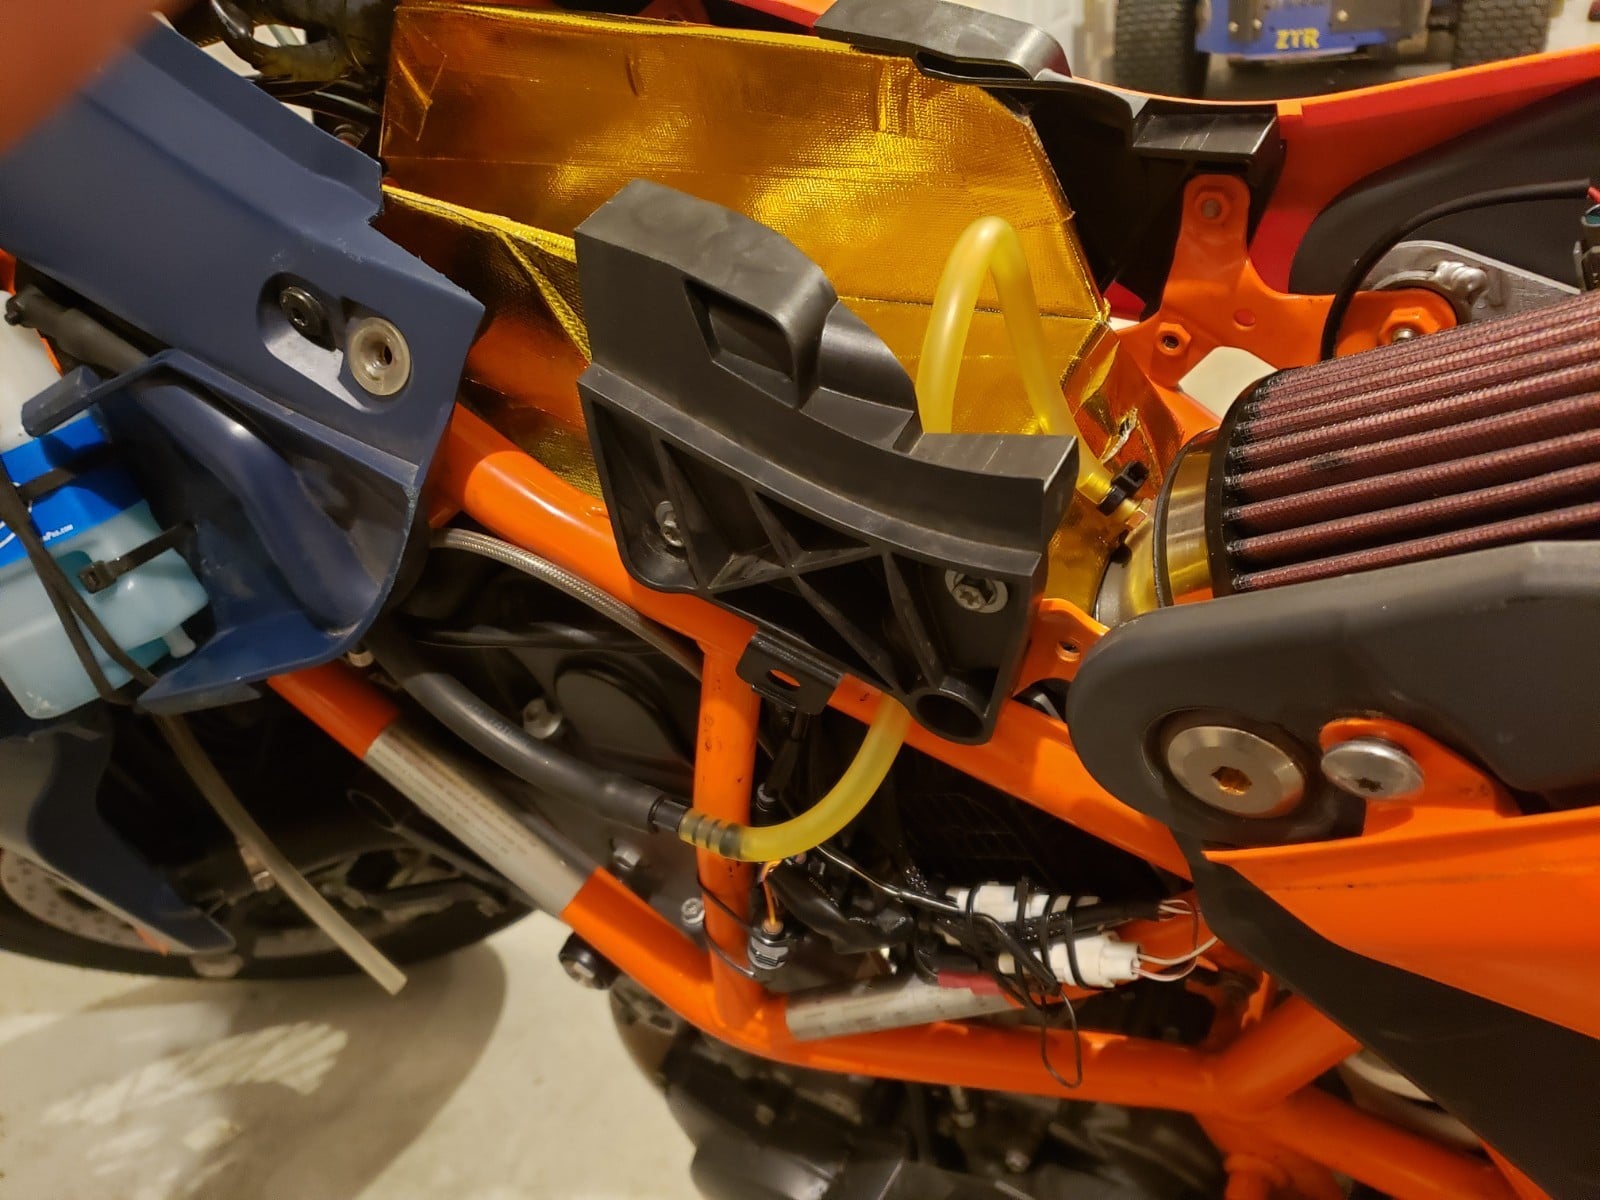
- Access the airbox. Remove the seat and the panels covering the intake area.
- Disconnect sensors and hoses attached to the stock intake, and label them if needed.
- Remove the stock intake parts. This is where the roughly 3 lb weight saving comes from.
- Fit the JB intake to the throttle body and secure all clamps evenly.
- Reconnect everything, then double-check every clamp, hose and connector.
Tuning is not optional
More air needs more fuel. To get the dyno-proven gains, and to keep the engine happy, pair the intake with a custom PC6 map or an ECU reflash. On very high-flow setups we have seen the stock injector reach 99% duty cycle, so talk to us before chasing big numbers.
First ride
Start the bike, let it idle up to temperature and check for air leaks. Then go enjoy it. Many riders tell us the bottom end pulls so much harder that they rethink their gearing.
Not sure about fitment for your bike? Send us your model, year and current mods and we will point you in the right direction.
Questions about your own build? Joe answers fitment and tuning questions personally.
Ask a Question